
Widgets are the items on the right-hand side of the platform that you can customize to provide at-a-glance information to a user that is just signing in.
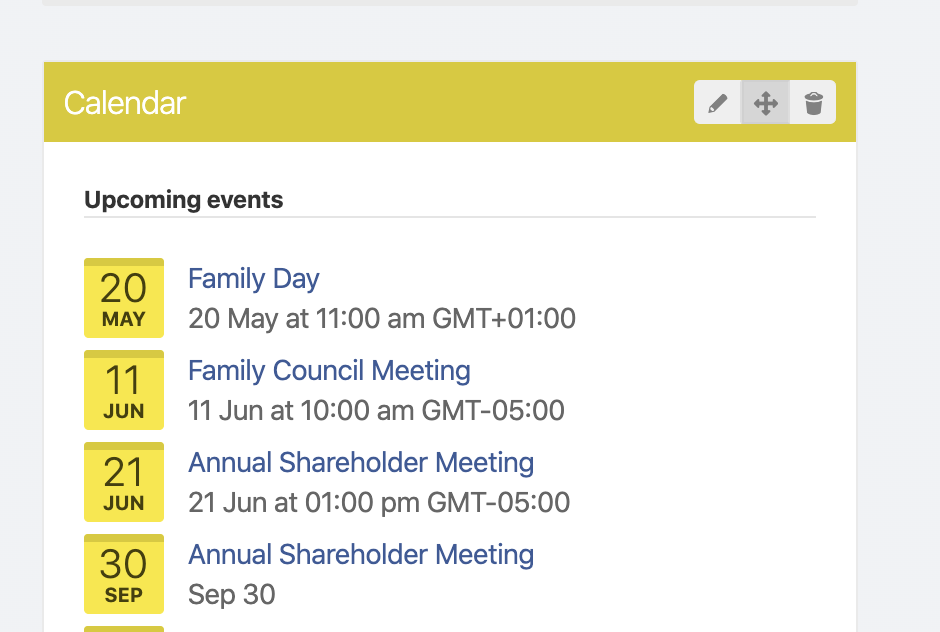
There are various types of widgets connected to different functionalities on the platform. The Events widget, for instance, will display a selection of upcoming events. The Note widget is a text editor that you can use for endless possibilities.
How to create a widget
1. Go to the Home page under All groups or into the desired group page.
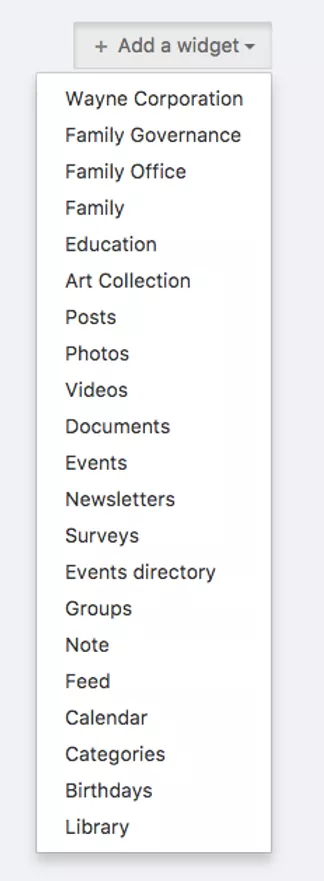
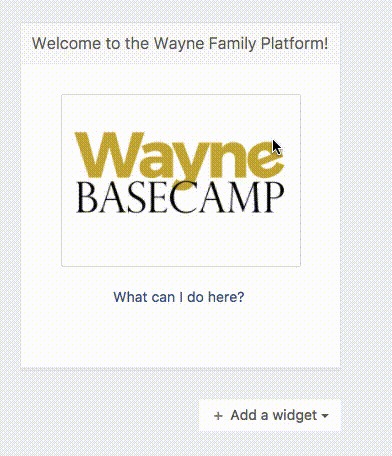
You will see the existing widgets on the right side of the page. Scroll down to the bottom of the last widget until you see the + Add a widget button.
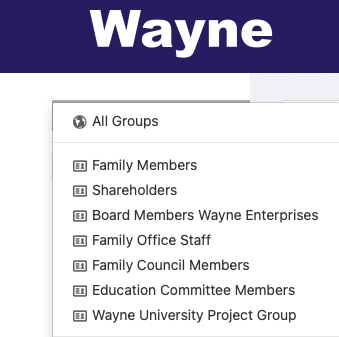
Note that if a widget is under "All groups", every member will be able to see it regardless of their group memberships. Only Network Admins will have permission to add widgets under "All groups".
Every group page can have its own set of widgets. Group Admins can add widgets to the group pages they administer.
2. From the drop-down menu, select the widget you would like to add. Once you add a widget you can edit, reorganize or delete it.
Using the Note Widget
Tip: The "Note" widget can contain images (PNG or JPEG) and URLs, it is a great way to link external sources to your platform. You can attach a url to the image by highlighting the image and selecting the Edit/Insert link button.
How to create a Note widget to promote an Event or Survey on the Home page:
- Go to the Newsfeed and choose the Group you want to create the Widget under. If you choose All groups, the widget will be visible to all members.
- Once you're in the desired group, you will find the widgets on the right hand side of the page. Scroll down until you see the + Add a widget button and click it to see your options.
- Select Note to create a new Note widget.
- Give your Widget a title and write something in the body of the text editor.
- Optional: Insert an image that is relevant to your Survey or Event to make the widget stand out.
- Go to your Event or Survey and copy the link from that page.
- Go back to the Note Widget and select an Image or highlight the text from the body of the Note widget that you want to link to your Event or Survey.
- Once the desired item is selected, click the Link button and paste the link from your Event or Survey.
- Click Save once your work is complete.
How to organize your widgets
Note: To make sure your members do not miss anything you can also mark a widget as important.